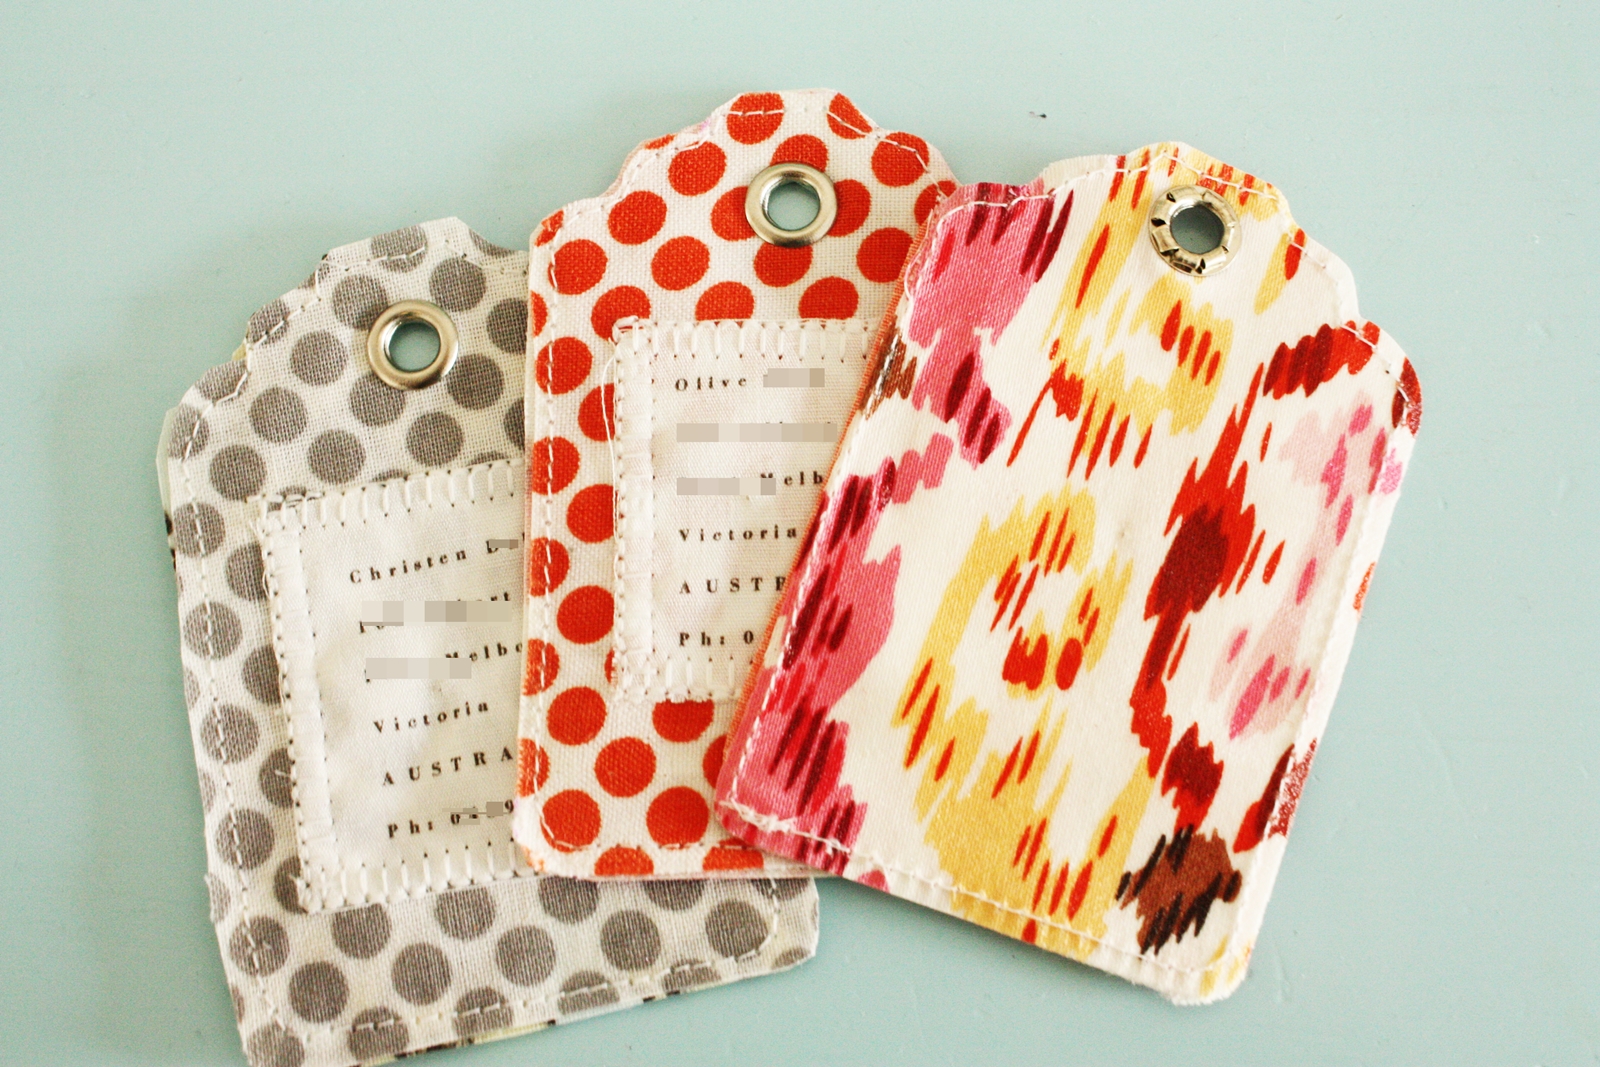
We went away for our annual family holiday recently and, as is my wont, I decided to add to the general chaos of preparation by making a whole lot of stuff. Including some of these fabric luggage tags.
One of the things I love most about making stuff is that I can use fabric in patterns and colours that I really love. The fabric on the tag on the far right is my newest obsession. You’ll see a bit more of that in some upcoming posts.
Anyhoo, these luggage tags were v satisfying to make, relatively simple (other than some bruising on my hand from hard-core punching) and held up extremely well when I put them to the test.
What you need:
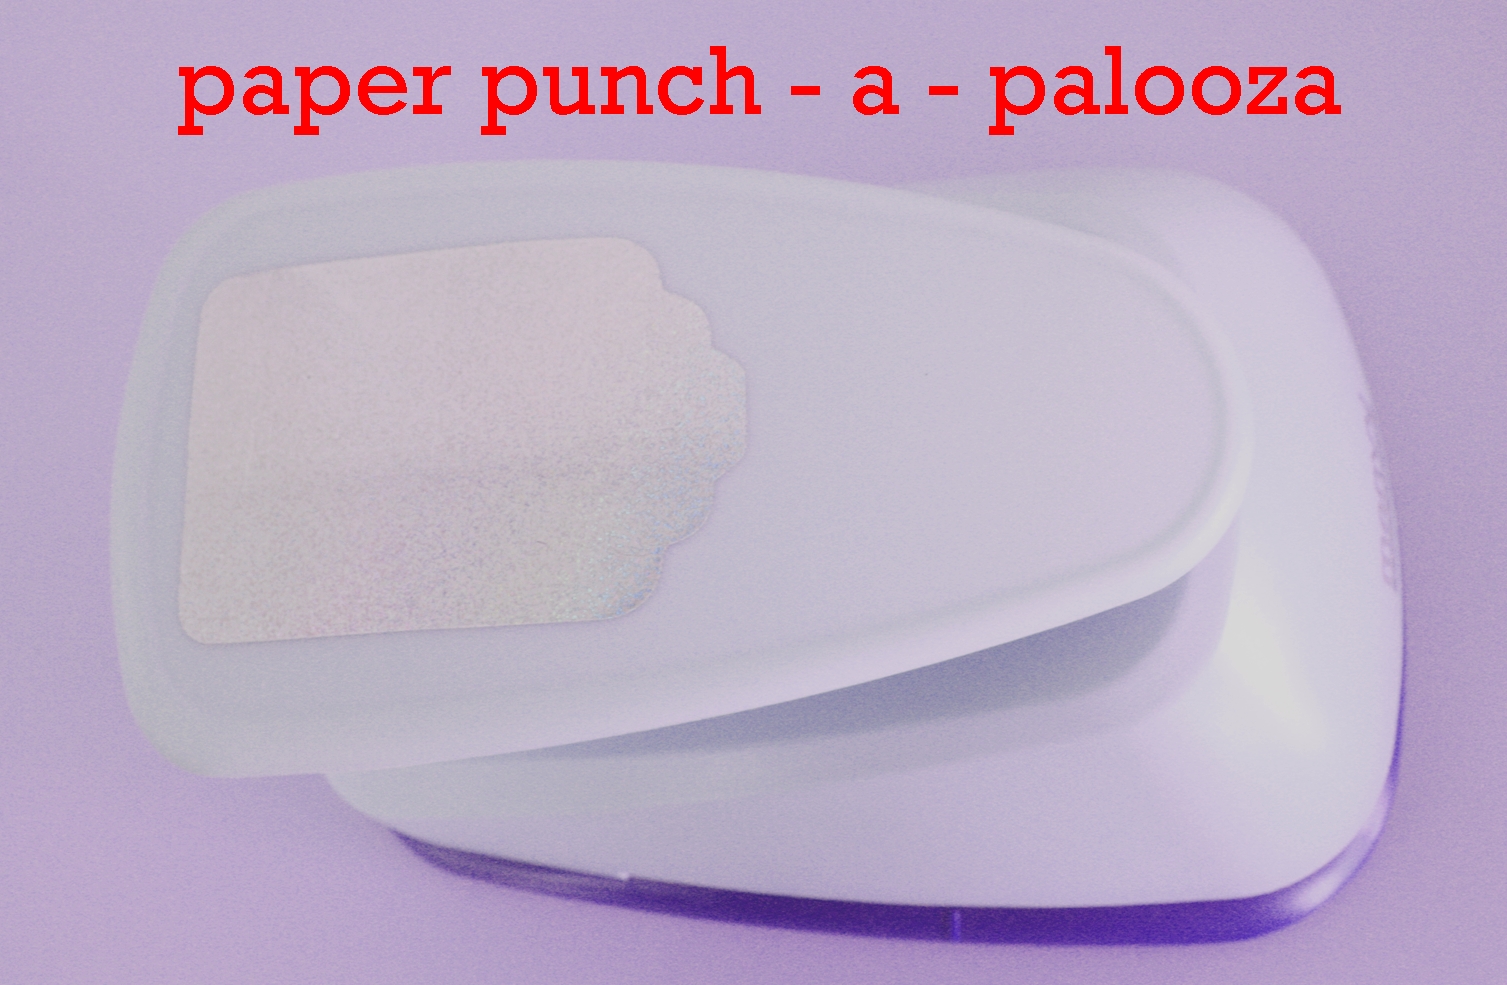
Large tag-shaped paper punch (or a cardboard luggage tag template and some sharp scissors)*
Fabric to create two luggage tag punchies – one for the back of the tag and one for, ummmm, the front.
PVA-type clear-drying glue (not Mod Podge, though)
Printable fabric, or alternatively, fabric pens or stamps
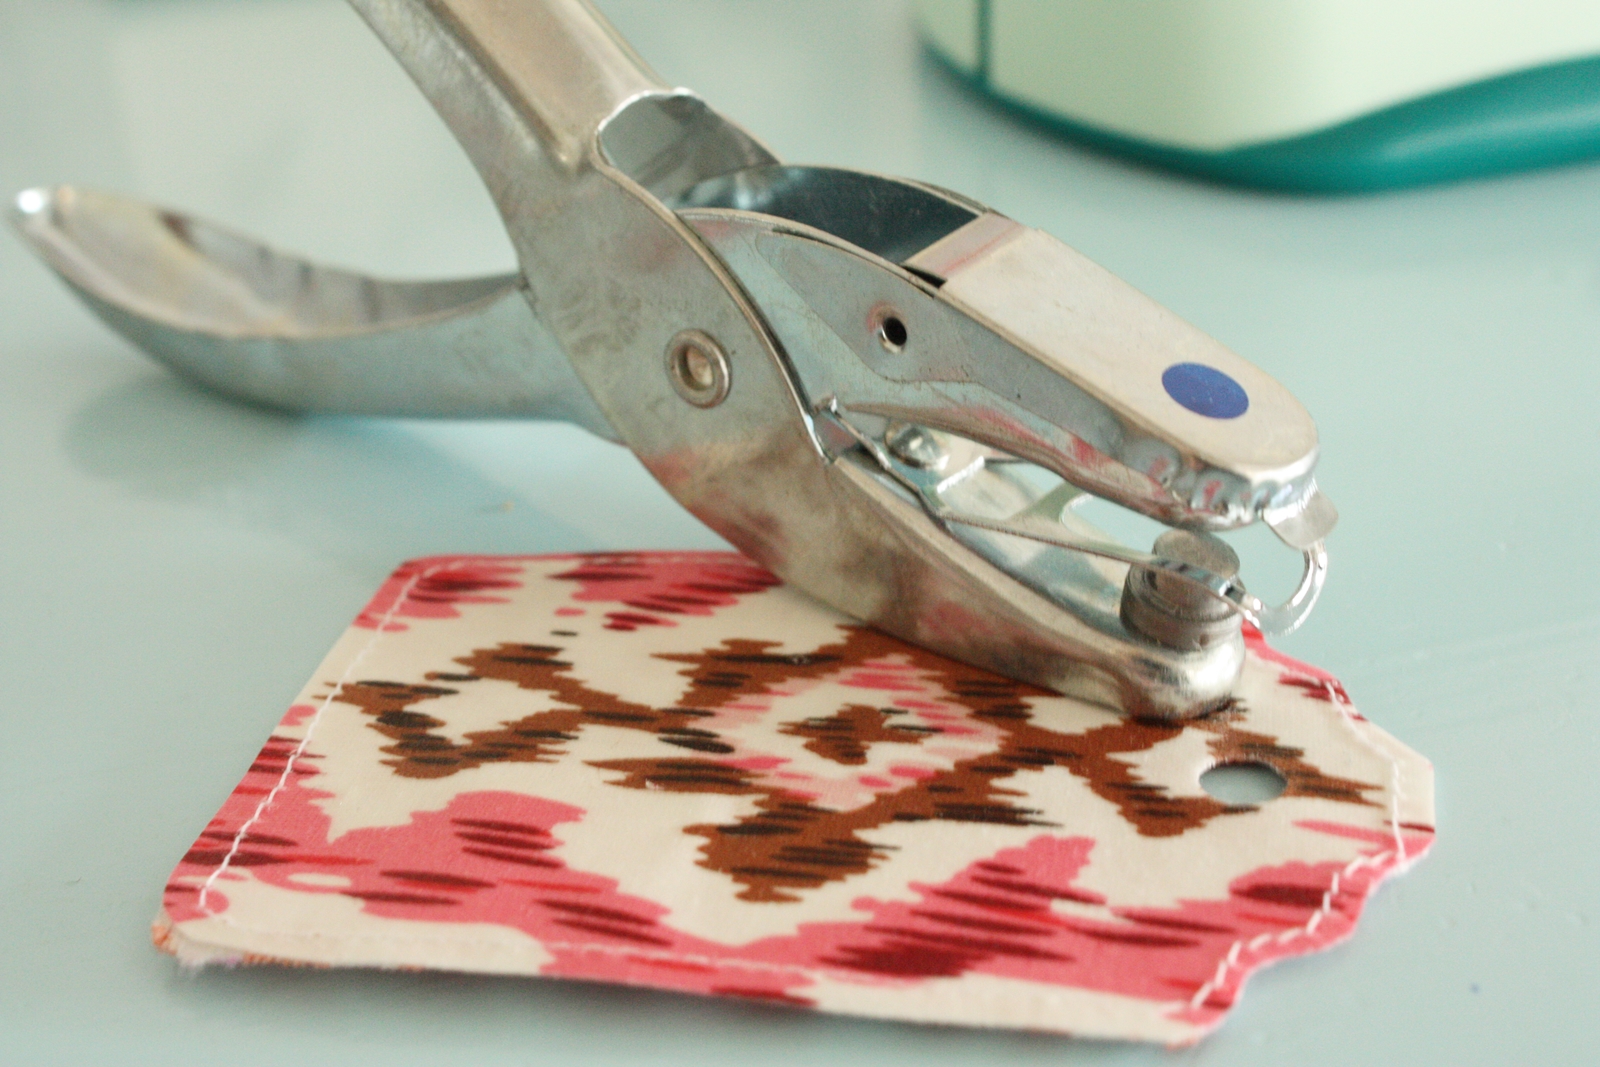
Circular paper punch (diameter of roughly 6mm/0.25″)
Metal eyelets
* Look, I know this is a paper punch series and all but here’s the thing about this project – the paper punch isn’t absolutely essential to it which is why I’ve offered the template and sharp scissors alternative. So is this technically a punch-a-palooza-worthy project? Why yes my friends, because even if you cut your tag out, you still need a little circular punch to create the hole to thread your loop through. Known in professional punching circles as a double whammy, you don’t come across the old “punch within a punch” very often. In fact, they’re as rare as Kim Kardashian’s brain cells. So yep, practically endangered.
I’ve been toying with the idea of getting one of these monster-sized tag punches for aaaages and I’m so glad I finally bit the bullet.
They are great for turning out gift tags from any pretty paper or left over cards you have.
Aaaaaanyhoodles, let’s move right along get our punch on.
What to do:
1. Cut rectangular pieces of fabric a few centimetres larger than your luggage tag will be on all sides.
2. Smear both sides of your fabric with PVA clear-dry craft glue or the like. DO NOT use Mod Podge as it doesn’t leave the fabric “crispy” enough. Allow to dry thoroughly, preferably overnight in a cool spot.
3. Once your fabric has dried and crisped up sufficiently, slide it into your punch, take a deep breath (first ensuring your punch is on a solid, flat surface) and smack the bottom of your palm quite hard onto the punch lever. I am not going to kid you, this project is not for cravens.Yep, no pain no gain.
Well, some gain because, as I mentioned above, rather than potentially breaking all of the small bones in the bottom of your palm, you can simply trace a tag shape and cut it out.
And in any case, if you do go the paper punch route, hopefully you shouldn’t have to punch that hard to get a result. The thing to remember is we are not punching through paper here. But we want to get our fabric as close to that state as possible. So you’ll have more luck with finer, lighter fabrics rather than heavy quilting cottons. For example, thick calico did not punch well. Finer calico would though I think.
Having said that, the tags in the photos with the grey and orange dots are heavy quilting cottons. So it can be done. If you don’t mind severe bruising of your palms. I don’t. But then I’m pretty tough.
4. Next, align your front and back luggage tag shapes and using sharp scissors, trim any bits you need to get them to match up as closely as possible.
5. Now you need to create your address lables. I tried stamping straight onto a calico back:
And then when I was unhappy with my impatient, messy stamping (and that was before I digitally scribbled out personal details) I printed tiny lables using printable fabric that I just ran through my computer. I explain all about printable fabric in this post.
6. If using a little lable, pin it in place and sew onto one of your tag shapes. I used the cute stitch on my sewing machine that I refer to as “fake serger” to stop the edges fraying.
7. Now pin your two tags together and pin to keep them aligned. Sew around the edges
8. Use your circular paper punch to punch a hole in the top of the tag.
9. Insert a metal eyelet and hammer into place.
Alternatively, just sew around the hole a few times to reinforce the area.
10. Create the loop strap for your tag. I used some stretchy, durable ones I took off some airline issued tags. If your luggage is going in a luggage hold then you will need something stretchy and strong so that when other luggage moves on top of it, the tag stretches and holds rather than snapping.
For the tags I put on the kids backpacks, I just sewed ribbon together to create a loop.
Possible variations and uses:
- houndstooth or plaid for the gents in your life (not sure whether that would punch well though – might be a cutting one).
- make a set of these for a family heading off on a trip.
- give them as favours at travel-themed events.
- you could even, if you had too much time on your hands, use them as invitations for a party. Get the guests to bring their tags along with them and then sew their personal details over the top of the event details and post the tags back to them with your thank you notes.
Results of the road test.
Apart from the calico which frays at the drop of a hat, none of the other tags had the slightest signs of wear. The glue really kept them neat.
Here are the really brave pioneers after a total of 8 hours in the luggage hold of a 747 followed by rough treatment on the luggage carousel and 2 hours in a car boot. They held up beautifully.
Sniff. My tough, courageous little tags.
Bless their little hearts.


I was going to say you’re clever (which I always do), but breaking your palm? Not so clever, my friend. Crazy, maybe. 🙂 They do look great.
These look fantastic! And I love your favorite new fabric…see why you’re obsessed:)
I WILL be making these before we head to China. Just ‘pinned’ it on my pinterest board so I don’t forget. Too cute!!
Ah, that’s lovely. So glad you like them. They certainly cheer up plain old luggage not to mention hoelp with spotting it on the baggage conveyor belt. Thanks so much for your pin and FB mentions. xxxxxxxxxxxxxxxxxx
Great idea!! Do you find your punch gets blunt going through fabric? Someone suggested to me that you sharpen them by punching through foil, but it left my punch in a big mess, foil was hard to get out of a detailed shape.
Thanks for your comment Rosalind – that is such a good point. I do find they sometimes get a bit blunt but rather than foil I use sand paper which seems to re-sharpen the edges quite well. I also occasionally just gently kind of run the sand paper over the cutting edges a bit and that really seems to help.
Pingback: Washi tape stickers: Part 3 in the Paper Punch-a-palooza series « twirling betty
Pingback: Zippered clutch « twirling betty
Pingback: Summer sewing for my girls « twirling betty
Hello! These tags are adorable and I have gotten all of the materials to begin making them. I was wondering though, where did you get the clear silicone cord to attach them? I can’t find it anywhere. Thank you! I love your blog.
Pingback: 25 DIY Gifts for Travel Lovers
Where do you get PVA type glue? I don’t want to buy online… and the only alternative I have is Mod Podge.
Hi Amy, any hardware store or art and craft supply store should carry it. Here in Australia you can even get it in newsagents. Not sure about the US though. Gopd luck.
Pingback: Homemade edible confetti: a tutorial | twirling betty
Hi, loving your tutorial and definitely going to try it out! which make is that paper punch? i am trying to find something similar but couldn’t spot something with such a lovely shape. thank you!
Hi Luisa,
Thanks for your comment. The punch is the Marvy brand (clever lever extra giga) and I got it online at save-on-crafts.com. Hope that helps. xx
Christen
Pingback: Stocking Fillers for Travellers | Self-Catering-Breaks Blog
very good post
gorgeous Tag
Which PVA glue do you recommend? I went to JoAnns today but I had no idea what I was looking for. Thanks
Hi Danielle. Any white craft glue should work. PVA is basically Elmers Glue although my understanding is PVA is a bit thinner. You can thin Elmer’s down with water if it’s too thick to easily brush onto your fabric- it takes a bit of stirring though. Also, if you do use Elmer’s just do a patch test on a scrap piece of your fabric first just to ensure it doesn’t have slightly different properties which make it stain. Hope that helps.
Hi, can water glue work too?